Advanced Interactive Design / Weekly Note
Week 01
This week, we had a brief introduction to the module and an overview of what we need to do for the first assignment. At the same time, we explored the internet to learn about interactive websites and gather inspiration.
The website we used for research was theFWA.
-
First, choose a category, then select a brand (and gradually dive in deeper).
-
We need to choose a total of 3 websites.
- ONE OK ROCK – "DETOX" album promotion
- Personal Portfolio Website
- World Expo 2025: Pavilion Highlights
- File Settings
- Select file type: WEB
- Set quality: Very High
- Make sure the format is HTML5

- The shape on the left / bigger (separated parts) is without Object Drawing.
- The shape on the right / smaller (moves as one) is with Object Drawing enabled.


Figure 2.2 /2.3: Exploration of Object Drawing (Left = Without / Right = With)
- Turning Object Drawing off allows you to separate and edit the shape edges individually.
- Turning Object Drawing on means the shape is treated as a single object, and you cannot separate its edges.
- Select all, then Right-click > Break Apart to separate the shape into editable pieces.

Task: Copy an image provided by the lecturer using Adobe Animate.


Figure 2.7: My Recreation Using Adobe Animate
- F5 = Add keyframe
- F6 = Cut keyframe
How to Add Ruler
- Go to View > Select Ruler, then pull it out (similar to Figma).

How to Add Transition Between Shapes
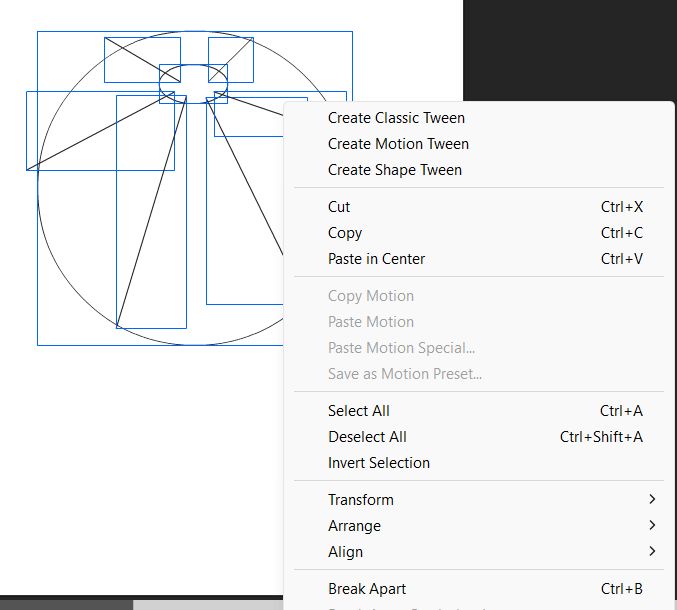
- Select the timeline, right-click, and choose Create Shape Tween.

How to Change the Effect Setting
Go to Properties > Click Effect > Change the effect (e.g., ease in/out or different types).

Class Activity Outcome


Note
- Text cannot be animated directly. You need to break it apart using Ctrl + B.
Week 04
- No Class
Week 05
Adobe Animate tutorial

- Select the object on the stage.
- Right-click and choose Convert to Symbol.
- Choose Movie Clip or Graphic, and give it a meaningful name.

- Select the symbol.
- In the Properties panel, change the type to Graphic if it's not already.

- Right-click on the symbol in the Library panel.
- Select Rename and enter a more descriptive name.

- Right-click on the layer containing the symbol.
- Select Add Classic Motion Guide.

- Select the Classic Motion Guide layer.
- Use the Pen Tool to draw a motion path.
- Tip: Press Shift + Y to open the Pencil Tool as an alternative.

- After drawing, select the path.
- In the Properties panel or right-click, choose Smooth to make the path cleaner and more fluid.
- On the object layer:
- Right-click on Frame 1 and select Insert Keyframe.
- Move to the desired frame (e.g., Frame 30), right-click, and select Insert Frame.

- Right-click between the two frames on the object layer.
- Select Create Classic Tween.

- Click on the tweened frames.
- In the Properties panel, check the box Orient to Path to make the object rotate along the guide.
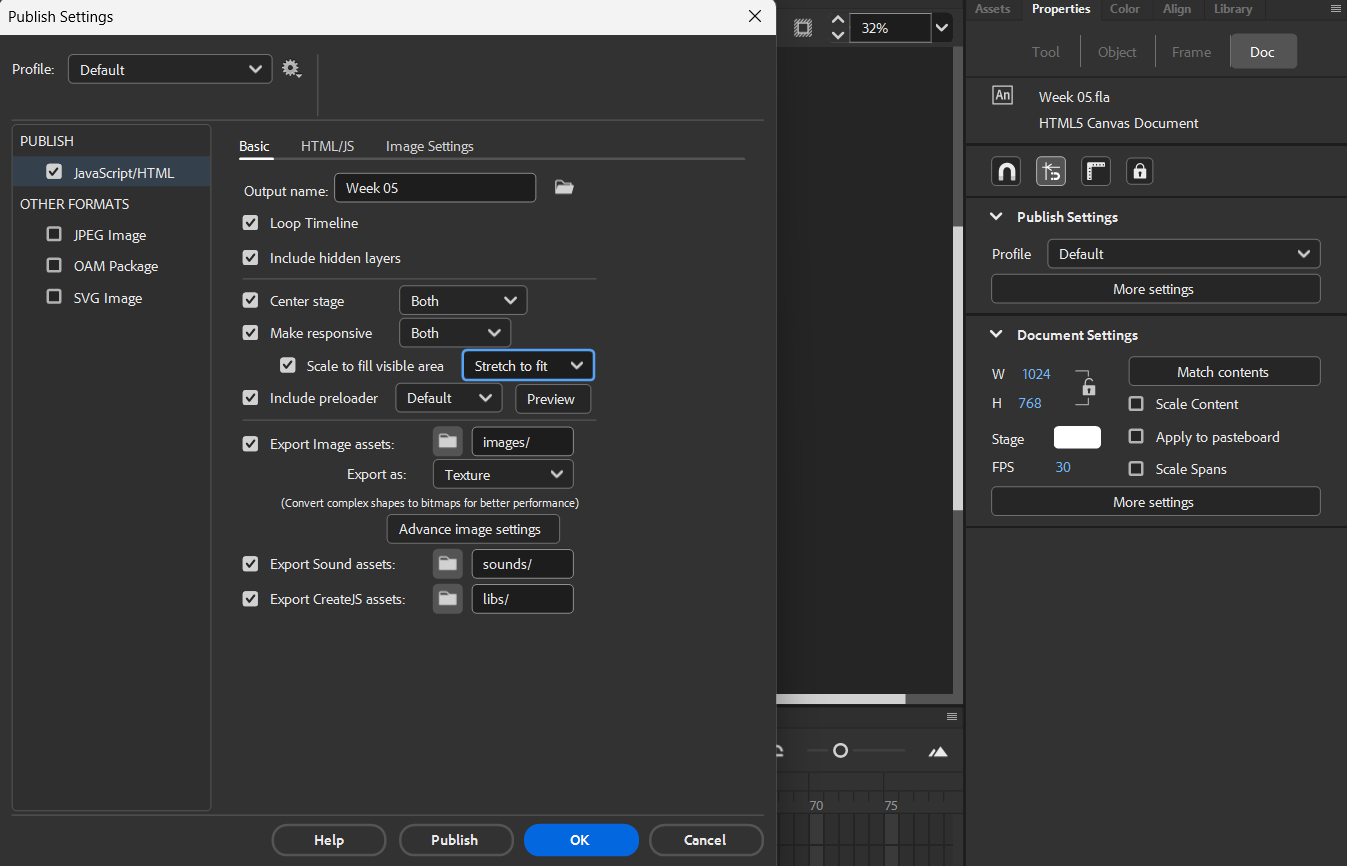
- Go to File > Publish Settings.
- Adjust formats (e.g., SWF, HTML5), compression, and other export options as needed.

.gif)

< To Jump Link >
Week 06
Adobe Animate – Masking Effect


Create a button and go next button (interactive)
Step 1: Create a Symbol
- Select both the text and the mask shape layers (hold Shift and click both).
- Right-click and choose Convert to Symbol (or go to Modify > Convert to Symbol).
- Choose Button as the type and name your symbol (e.g., btnMask).
- Click OK.
Step 2: Adjust Button States
- Double-click the button symbol to enter Edit mode.
- In the timeline, you’ll see four frames: Up, Over, Down, and Hit.
- You can add different graphics or effects to these frames to create hover and click effects.
- When done, return to the main stage.
Part 3: Stopping the Animation
- Step 1: Add a New Layer for Actions
- Create a new layer above all other layers and name it Actions.
- Go to the frame where you want the animation to stop (e.g., frame 50).
- Right-click that frame and select Insert Blank Keyframe.
- Step 2: Add Stop Action Using Action Wizard
- Right-click the blank keyframe and choose Actions.
- The Actions panel will open.
- In the Actions panel, click the Wizard icon.
- Choose Timeline Control from the left panel.
- Select Stop at this Frame from the right panel.
- Click Next, then Finish.
Part 4: Adding Interactivity (No Manual Code)
- Step 1: Use Action Wizard to Create Button Click Action
- Select your btnMask button on the stage.
- Right-click and choose Actions.
- In the Actions panel, click the Wizard icon.
- From the left panel, choose Mouse Events.
- In the right panel, select On Mouse Click.
- Click Next.
- Step 2: Define the Button Action
- In the left panel, select Timeline Control.
- In the right panel, select Go to Frame and Play
- Click Next.
- Step 3: Set the Destination Frame
- In the next step, specify the frame number (or label (if we label it ))
- Click Next and then Finish.


Class Activity Outcome

GSAP Integration in Adobe Animate
Step 1: Adding GSAP to Adobe Animate
- Open your Timeline.
- Rename and select the relevant layer.
- Open the Actions panel by right-clicking the keyframe and choosing Actions.
- Click the Globe icon to import external scripts.
- Import the GSAP library file (download it from the official GSAP website first).


Step 2: Setting Up the Scene
- Create 3 rectangles (same size as the screen) and place them side-by-side horizontally.
- Convert each rectangle into a Movie Clip Symbol.
- Group them into a single Movie Clip called MC_Screen and place it on a new layer named "Screen".
Step 3: Adding Scroll Animation
In the Actions panel, insert the following code to animate the grouped screens:
gsap.to(this.MC_Screen, { x: -512 });
- The value -512 represents the x-position the grouped Movie Clip should move to.
- To get this value:
- Select the grouped Movie Clip.
- Align it to the right side.
- Check the Properties panel for its x-coordinate.


Step 4: Adding Navigation Buttons
- Create a new layer named "Button".
- Draw 3 colored circles.
- Convert each circle into a Button Symbol and name them clearly (e.g., Btn_Black).
- Align the buttons at the center of the stage.
- Select each button and open the Code Snippets panel.
- Choose Mouse Click Event to add starter code, then modify it as shown below:
- Btn_Black is the instance name of the button.
- movescreenblack is the custom function that moves the screen.
- 1536 is the x-position of the Movie Clip i want to scroll to. Adjust this value according to layout.

How to Import and Use Sound in Adobe Animate
- Download the Sound File
- Make sure the sound is downloaded and saved on your computer.
- Import the Sound into Adobe Animate
- Open your Adobe Animate project.
- Go to the top menu:
- File > Import > Import to Library
- Select your downloaded sound file and click Open.
- The sound will now appear in the Library panel.
- Create a Button
- Use the Rectangle Tool or Oval Tool to draw a shape for the button.
- Convert it to a button symbol: Right-click the shape → Convert to Symbol → Choose Button → Click OK.
- Add Sound to the Button
- Done
- Exit the button editing mode
- Test your button:
- Control > Test Movie > In Browser (or Test).
- When you click the button, the sound play.

Part 2 - control music using button (pause and resume)


Comments
Post a Comment